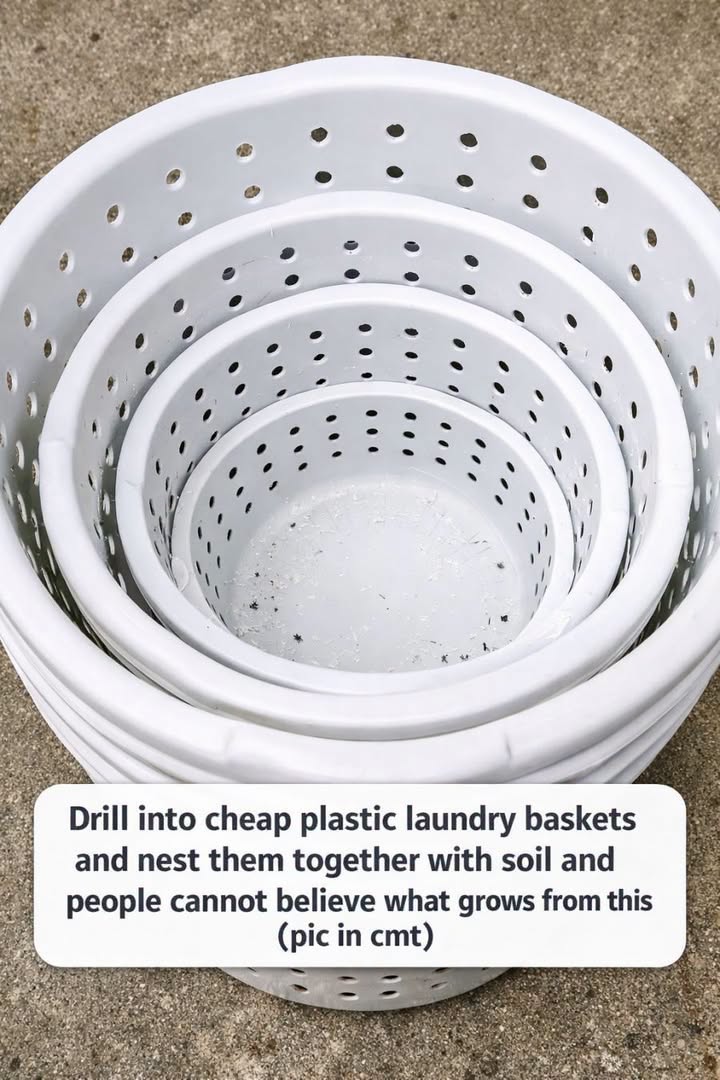
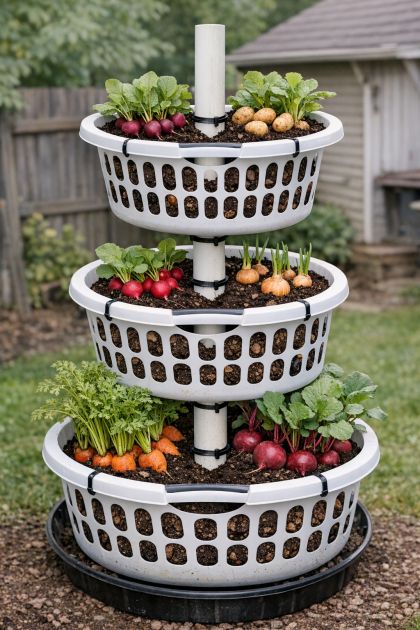
This DIY project transforms inexpensive plastic laundry baskets into a tiered root vegetable tower, perfect for maximizing space in small gardens. By drilling holes into the baskets and nesting them with soil, you create an ideal environment for growing root vegetables like carrots, radishes, and potatoes. This method improves drainage and aeration, making it a great solution for urban gardeners or those with limited garden space. It’s an innovative way to utilize vertical space while providing an efficient growing medium for your vegetables throughout the planting season.
This DIY project seamlessly integrates into various garden styles, from modern urban balconies to rustic backyard setups. Ideal for growing root vegetables, it can be placed in sunny spots or near a kitchen door for easy access. The neutral tones of the white baskets blend well with both lush greenery and colorful blooms, offering a versatile aesthetic that’s both functional and stylish. Use in container gardens, raised beds, or as standalone features for a unique statement.
Tiered Plastic Basket Root Vegetable Tower
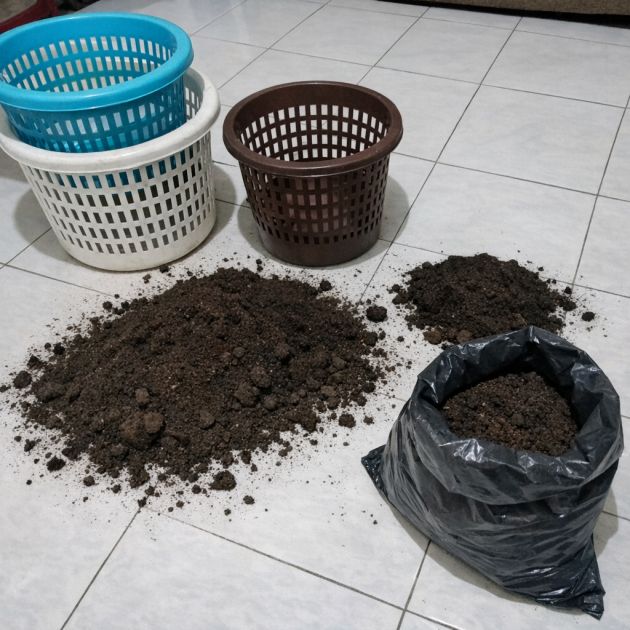
Materials
3 white plastic laundry baskets (each approximately 12 inches in diameter and 10 inches tall)
Electric drill with a 1/4-inch drill bit
Potting soil (enough to fill the baskets)
Root vegetable seeds or seedlings (e.g., carrots, radishes, potatoes)
Directions
1. Use an electric drill with a 1/4-inch drill bit to carefully drill evenly spaced holes around the sides and bottom of each plastic laundry basket. This will ensure proper drainage and aeration for the soil.
2. Stack the baskets inside one another, ensuring that the drilled holes are aligned to allow water flow and root passage between layers.
3. Fill each basket with potting soil, starting from the bottom basket and working up to the top, pressing the soil down gently to remove any air pockets.
4. Plant root vegetable seeds or seedlings in each basket layer, following the planting depth and spacing instructions specific to each type of vegetable.
5. Water the soil thoroughly after planting, ensuring that excess water drains out through the holes.
6. Place the stacked baskets in a sunny location to ensure the plants receive adequate sunlight for growth.
Variations & Tips
For a more decorative touch, consider painting the baskets with weather-resistant paints in colors that match your garden’s theme. Swap out the simple potting soil for a custom mix that includes compost for added nutrients, especially if you are growing nutrient-demanding plants like potatoes. In colder climates, insulate the baskets with burlap or straw to protect the roots from frost. Alternatively, adapt this setup for herbs by adjusting the soil mix for better drainage and using smaller baskets to accommodate shallower root systems.
