
Ferns are a timeless favorite for gardeners and indoor plant enthusiasts alike, known for their delicate leaves and vibrant green hues. As we approach the summer months, it’s essential to prepare these lush plants for the heat and potential drought conditions that could impact their health and appearance. With a few strategic actions this June, you can ensure that your ferns remain a stunning focal point in your garden or home.
Whether you’re growing ferns in pots on your patio or cultivating a lush indoor display, understanding their needs and providing the right care will keep them thriving. From ensuring they have the right soil conditions to protecting them from pests and environmental stressors, this article covers the eight crucial steps you must take this June to maintain your ferns’ health and beauty all summer long.
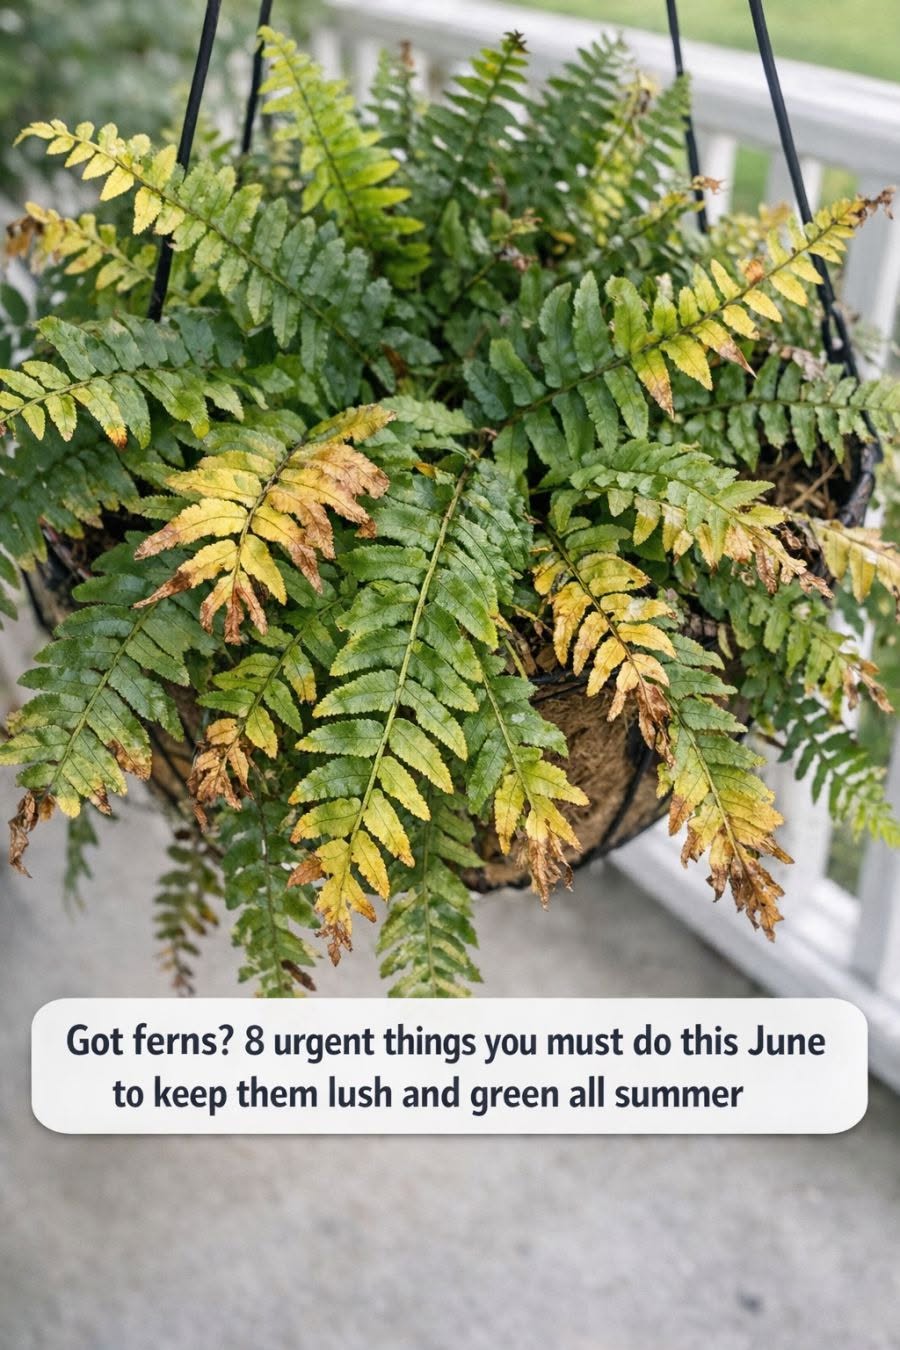
1. Audit Your Ferns: Spot Stress Before Summer Heat Hits
Before the summer heat really kicks in, take a close look at your ferns. Check for signs of stress such as wilting, browning, or yellowing fronds. These can indicate issues such as underwatering, overwatering, or nutrient deficiencies. Use a moisture meter to check the soil moisture levels, ideally keeping it between 30-40% for most fern varieties.
Inspect the roots by gently removing the plant from its pot. Healthy roots should be white and firm, not brown and mushy. If you notice any problems, address them promptly to prevent further damage as temperatures rise.
2. Repot or Divide Overcrowded Ferns for Fresh Growth
If your ferns are becoming root-bound or the foliage appears overcrowded, it might be time to repot or divide them. Ferns typically need repotting every 1-2 years, depending on their growth rate. Carefully remove the plant from its container and check for circling roots. If the roots are tightly packed, gently tease them apart and repot the fern into a container that is 2 inches larger in diameter.
For division, use a sharp, clean knife to separate the root ball into smaller sections, each with a good amount of roots and fronds. Plant these divisions into fresh potting mix and water them thoroughly to help them settle in their new environment.
3. Refresh the Soil and Mulch to Lock In Moisture
Refreshing the soil around your ferns can significantly improve their health and vigor. If the soil has compacted or depleted in nutrients, consider replacing the top 2-3 inches with fresh potting mix. Choose a mix that is rich in organic matter and retains moisture, as ferns thrive in such conditions.
Adding a layer of mulch around your outdoor ferns can help regulate soil temperature and retain moisture, minimizing the need for frequent watering. Use organic mulch such as shredded bark or leaf mold, applying it to a depth of 2-3 inches, but keep it away from the crown of the plant to prevent rot.
4. Dial In Watering: Deep, Consistent Soaks (Not Daily Sprinkles)
Ferns generally prefer a consistent level of moisture, but they do not fare well in waterlogged conditions. Instead of frequent, shallow sprinkling, opt for deep watering once or twice a week, depending on weather conditions and soil drainage. Water until the soil feels moist to a depth of at least 6 inches.
For indoor ferns, ensure the pots have drainage holes and allow the top inch of the soil to dry slightly between waterings. This prevents root rot and mimics the natural conditions that ferns thrive in.
5. Adjust Light and Shade to Prevent June Sunburn
Ferns are typically shade-loving plants, and too much direct sunlight can scorch their fronds. As the sun becomes more intense in June, make sure your ferns are positioned in a spot that receives dappled sunlight or indirect light. If your ferns are outdoors, consider moving them under the canopy of a tree or providing them with shade cloth for protection.
Indoor ferns should be placed near north or east-facing windows, where they can receive bright, indirect light without the risk of sunburn. Monitor the light levels and adjust as necessary to ensure your ferns receive the right amount of light.
6. Feed Ferns With the Right Fertilizer at the Right Strength
Ferns are not heavy feeders, but they benefit from a balanced, diluted fertilizer during their growing season. Use a water-soluble fertilizer with an N-P-K ratio of around 10-10-10, diluted to half the recommended strength. Apply this every 4-6 weeks from spring through summer.
Be cautious not to over-fertilize, as this can lead to salt buildup in the soil, harming the roots. Always water your ferns before applying fertilizer to prevent root burn.
7. Prune, Groom, and Remove Brown Fronds for a Lusher Look
Regular pruning and grooming will keep your ferns looking their best. Remove any brown, damaged, or dead fronds by cutting them at the base with clean, sharp scissors. This not only improves the plant’s appearance but also encourages new growth.
Inspect the plant regularly and remove any debris or fallen leaves from the soil surface to prevent disease and insect infestations. Keeping your ferns tidy will promote a healthier and more attractive plant.
8. Protect From Pests, Wind, and Indoor AC Before Summer Peaks
Ferns, particularly those grown indoors, can be susceptible to pests such as spider mites and aphids. Regularly inspect your plants for signs of infestation and treat them promptly with insecticidal soap or neem oil if necessary.
Outdoor ferns should be protected from strong winds, which can dry out the fronds and cause damage. Move them to a sheltered location or use windbreaks as needed. Indoor ferns should be kept away from air conditioning vents, as the dry air can lead to browning leaf tips. Consider using a humidifier to maintain adequate humidity levels around your ferns.
